Welcome to our first tutorial for HTML! I can’t wait to introduce the world of coding to you, and hopefully teach you some new skills.
On we go!
WHAT IS HTML?
HTML stands for:
Hyper
Text
Markup
Language
This language is used to create websites, like the one you’re on right now!
WHY SHOULD I LEARN IT?
HTML can be used in a variety of settings from the job place to a resume, whatever career or opportunity you take. It can even be merged with coding languages like JavaScript, and CSS (We’re actually going to work with CSS later!).
WHAT YOU NEED
You only need your device! I prefer a computer to iPad, but whatever you have should work for you.
Use the website code.org and access their web lab to make websites using HTML. Keep in mind this is more for practice than the actual display you’ll use see when you make a real website, but it’s good for getting those fundamentals of HTML with a learner friendly format.
How to log on to Code.org
Type code.org in your browser, the homepage should look like this ->
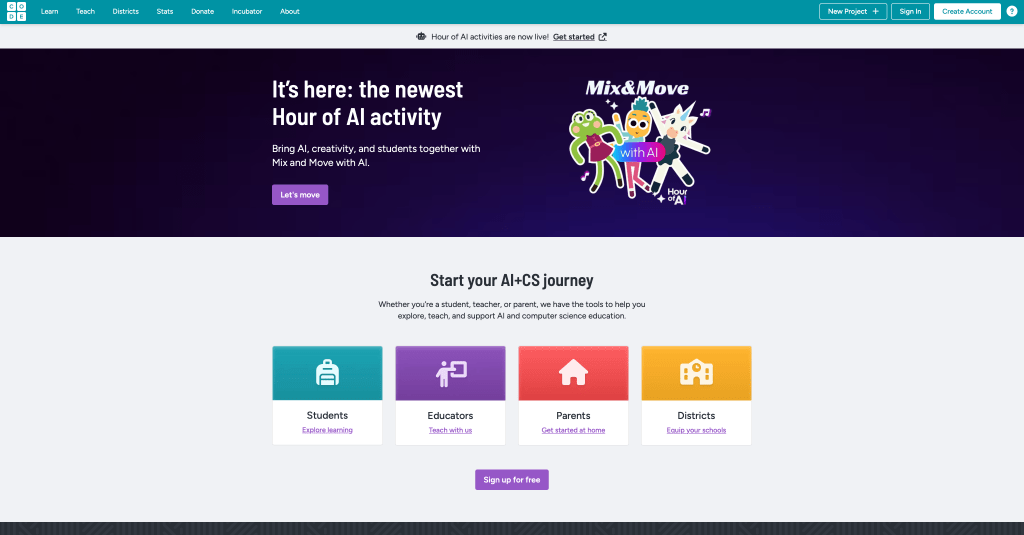
Next, tap the “New Project +” button on the far right corner of your screen.
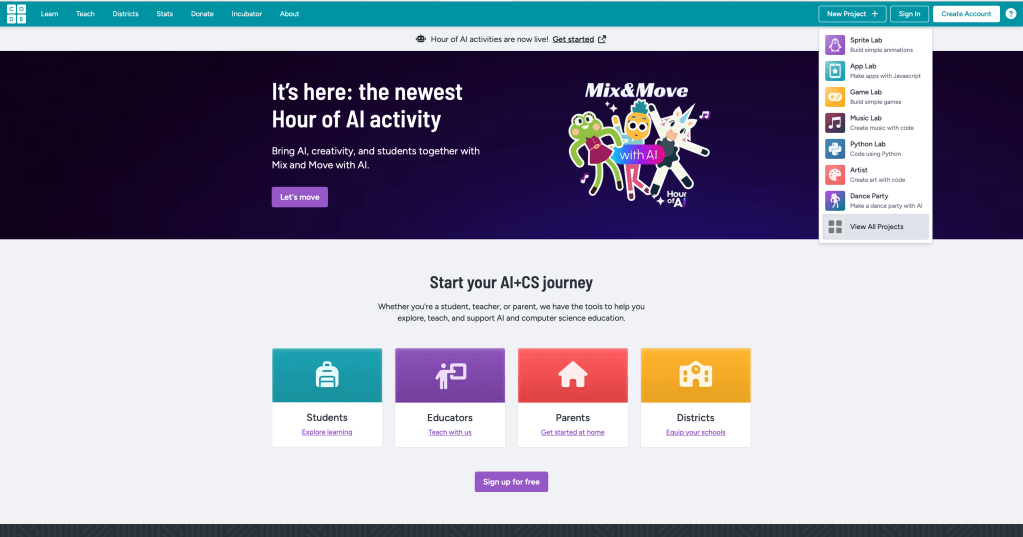
A drop down menu should display itself, the click “View All Projects”.
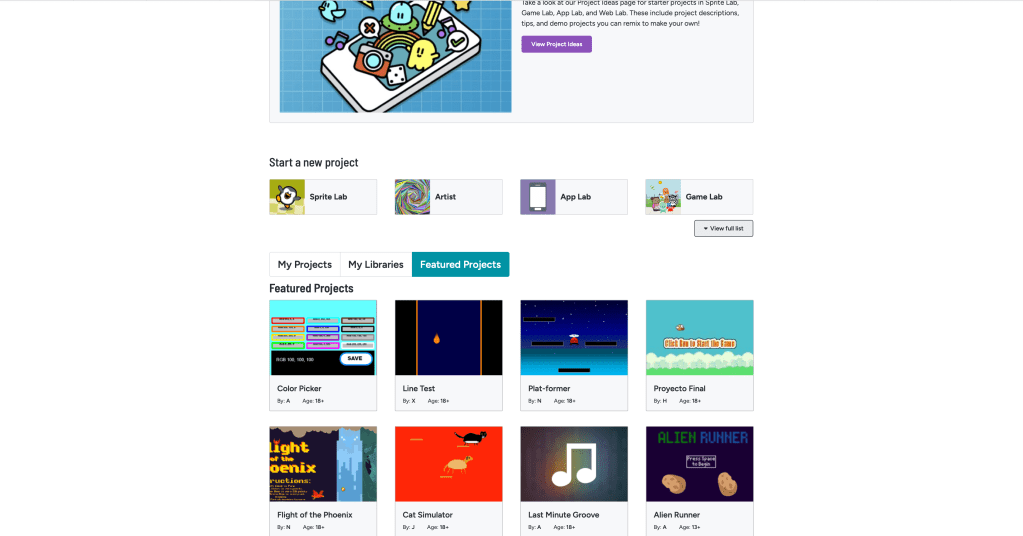
You should see a page with featured, and new projects you can start. Click “view full list” under “Start a new project”.

A whole bunch of categorized projects you can start will appear. Click on Web Lab under Beyond blocks.
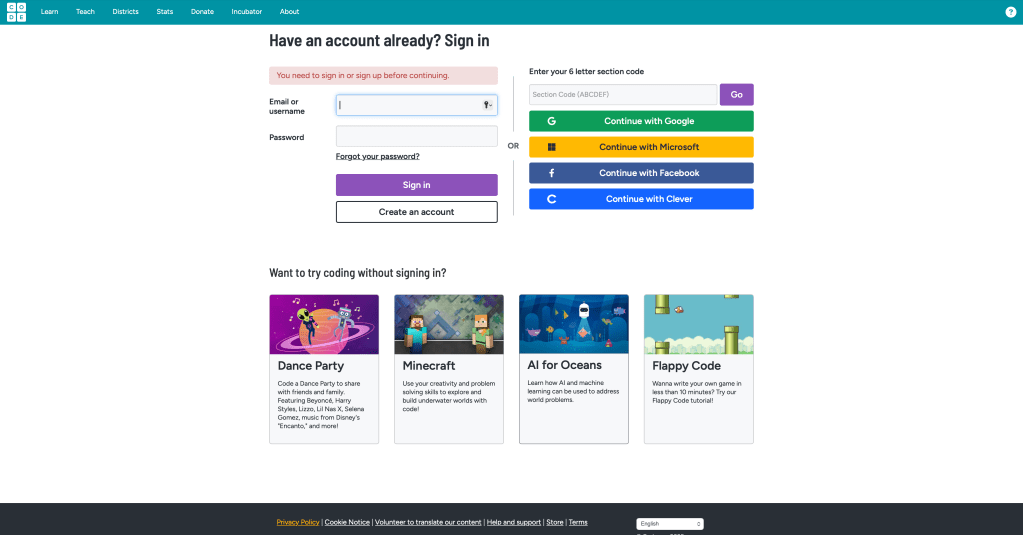
It will instruct you to login in. If you don’t have an account click create an account.

It will ask you to create an account, click “Sign up as a student”.
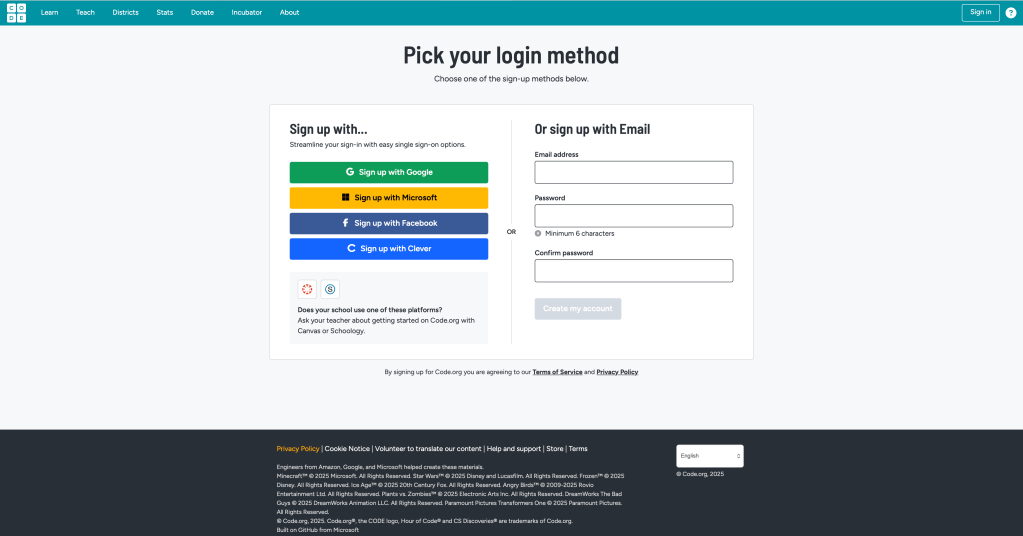
Sign up with your email, unless you want to use the other options of the left-hand side.
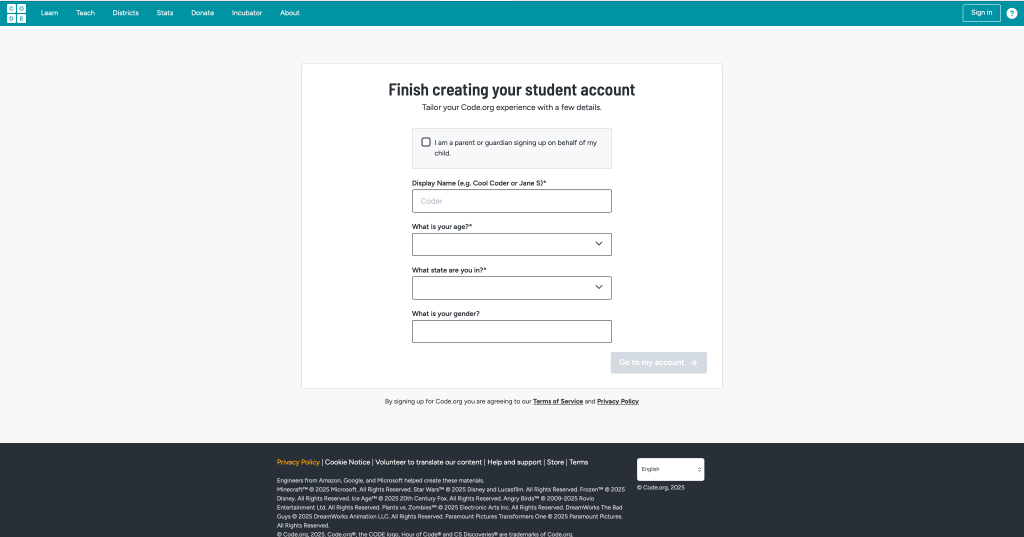
Once on this screen enter the required information, and your account will be created!
Next I’ll teach you a few things about Web Lab, mainly its basic structure and how to navigate it.
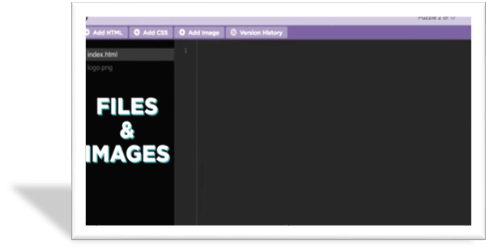
FILES AND IMAGES
- Web lab has a lists of files and images that will appear on the website.

Every project starts with a single index.html file, which is the main page of your website(where you put your core content in HTML). When you click on this file, the content within will be in the workspace. The workspace is where you develop your website. As you type, your changes appear in the preview. If they aren’t there immediately, just click the refresh button. You’ll notice at first all the content on the webpage gets lumped together, obviously we don’t want this, but soon we will learn tips to better control appearance.
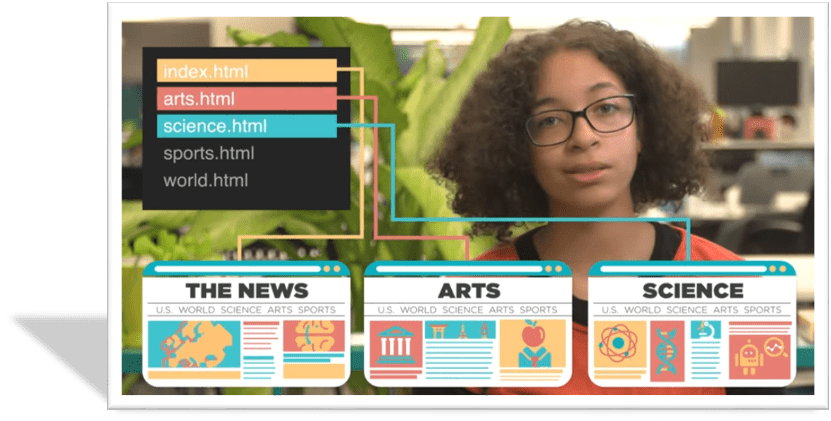
- Just like a news website has different pages for the “front page”, the “arts, and entertainment page”, and the “Science page”. Our website will soon have multiple pages based on what’s stored here ( In the black box) To edit a web page you will need to navigate to the right file name that corresponds to that page. Hence, the lines from the pages to the html file.
VOCAB
Some helpful HTML vocabulary for this lesson and next lessons:
HTML – Hypertext Markup Language, a language used to create web pages
Website Structure – how the content of a website is organized
Website Content – the text and images on a website
CLOSING
Take your time to read through this, it’s okay if you don’t get it right away! If you have any questions about the coming material this course will cover or about this introduction don’t be afraid to ask us in the comments below!
In the next article we’ll learn how to execute simple tasks in HTML such as making headings, lists, and paragraphs! See you next time WHATABLOG OUT!

Leave a comment